Jerusalem Tile Mosaic
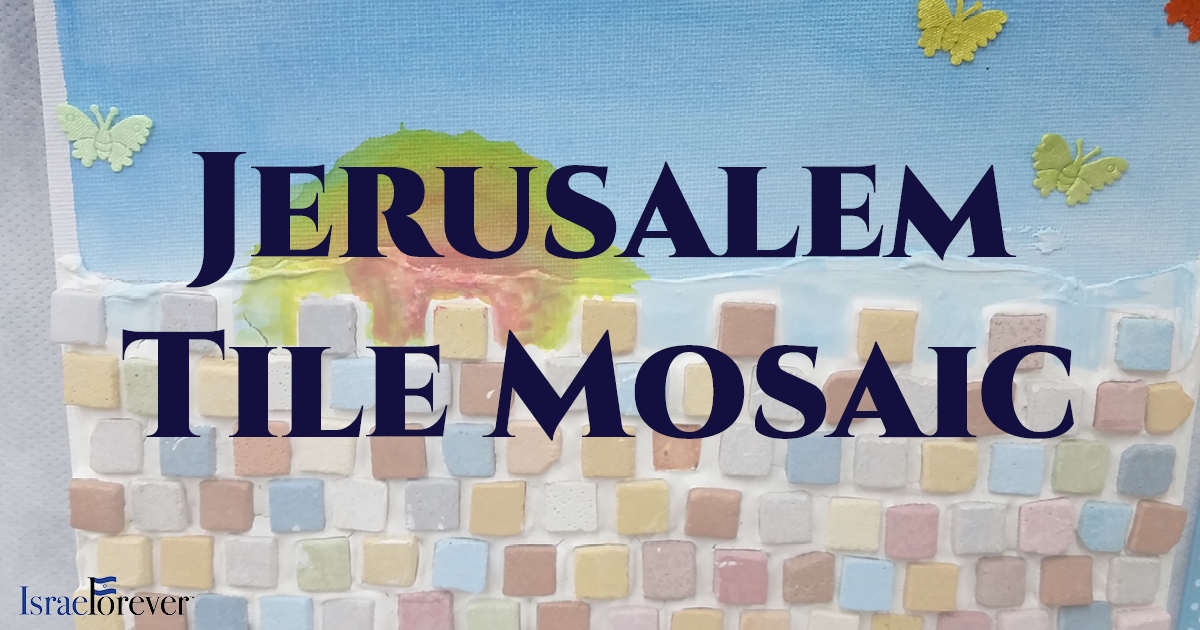
Like many ancient cities, Jerusalem has a long history with mosaics. Besides for having many within her walls, the city has been featured in many mosaics as well. Connect to Jerusalem’s history by creating your cornerstone with this ancient art form.
Work as slowly through this project as you need - taking your time and not rushing it will produce the best result. Also keep in mind that the materials will need time to dry between stages. This activity takes a lot of time and effort, but it’s definitely worth it in the end!
Note: If using tile cutters (with older artists and adults only!) make sure to be informed and practice proper safety.
Supplies Needed:
- Wooden board
- Paper and pencils
- Mosaic tile stones
- Tile cutters, if desired
- Grout
- Rubber gloves
- Sponges/rags (for removing excess grout)
Draw your favorite Jerusalem scene or other design onto your board (or on a piece of paper to then use as a stencil). Because of the nature of mosaics, it is best to focus on basic outlines and shapes rather than capturing tiny details.
Glue your mosaic tiles to the board to fill your design, making sure to leave a little space between them for the grout. If desired, you can use tile cutters to cut them into smaller shapes. Let your tiles dry overnight.
Once the tiles are dry, read and follow the instructions for applying your grout (wear rubber gloves while applying). Let sit for an appropriate amount of time, then use the sponges or rags to wipe off the excess. It will be messy, but it’s worth it!

